Disintegration Story Trailer!
The trailer showcases the story and you get to hear the hard work our sound team put in on the voices and sound effects!
DIY Sound Absorption Panels While Sheltering In Place
Working in the game industry I have been fortunate to have been able to transition to a work from home setup during this current global health crisis. As a sound designer there are still some shortcomings in working from home. One of these is my home office in the house I rent is not exactly treated for sound.
So expecting the work from home situation to not change for a bit; I have assembled some sound panels for my home office. Given the circumstances of self isolation and the desire to reduce outside contact I have worked within some restrictions: I ordered glue and cloth (bolt cloth and tablecloths) from Amazon.com, acoustic insulation from a dedicated online seller, and the remaining wood is from a salvaged wood pallet and the hardware is stuff I have hoarded like a construction dragon. I could have made a trip or two to a local hardware store but I opted to work within a box, literally and figuratively.
Some caveats before we dig in:
-Yes there are better techniques and materials to make acoustic panels when time, money, amount of effort, and lack of global pandemics are not a factor.
-This setup worked for my situation, but I do understand not everyone has the appropriate tools, space, and funds to even set this up.
-The setup I have made is almost entirely reversible, and arranged to be as light as possible, so specialized mounting hardware is not necessary. The lack of a rigid wood frame helps with weight, and lack of materials. This will also make the panels much easier to move, as I currently rent. The way this is set up I can remove the wood mount and slot into a frame at a later time.
First step was to cut up this old pallet previously used to record foot impacts and footsteps that I had acquired from an abandoned apartment demolition site. While I initially planned to use this wood to make a frame to go around the acoustic insulation; the wood is so deteriorated and all of the nails were far too rusted to remove. So what I did instead was cut the wood into smaller planks which I could sandwich the panel in between to have a strong place to mount hardware.
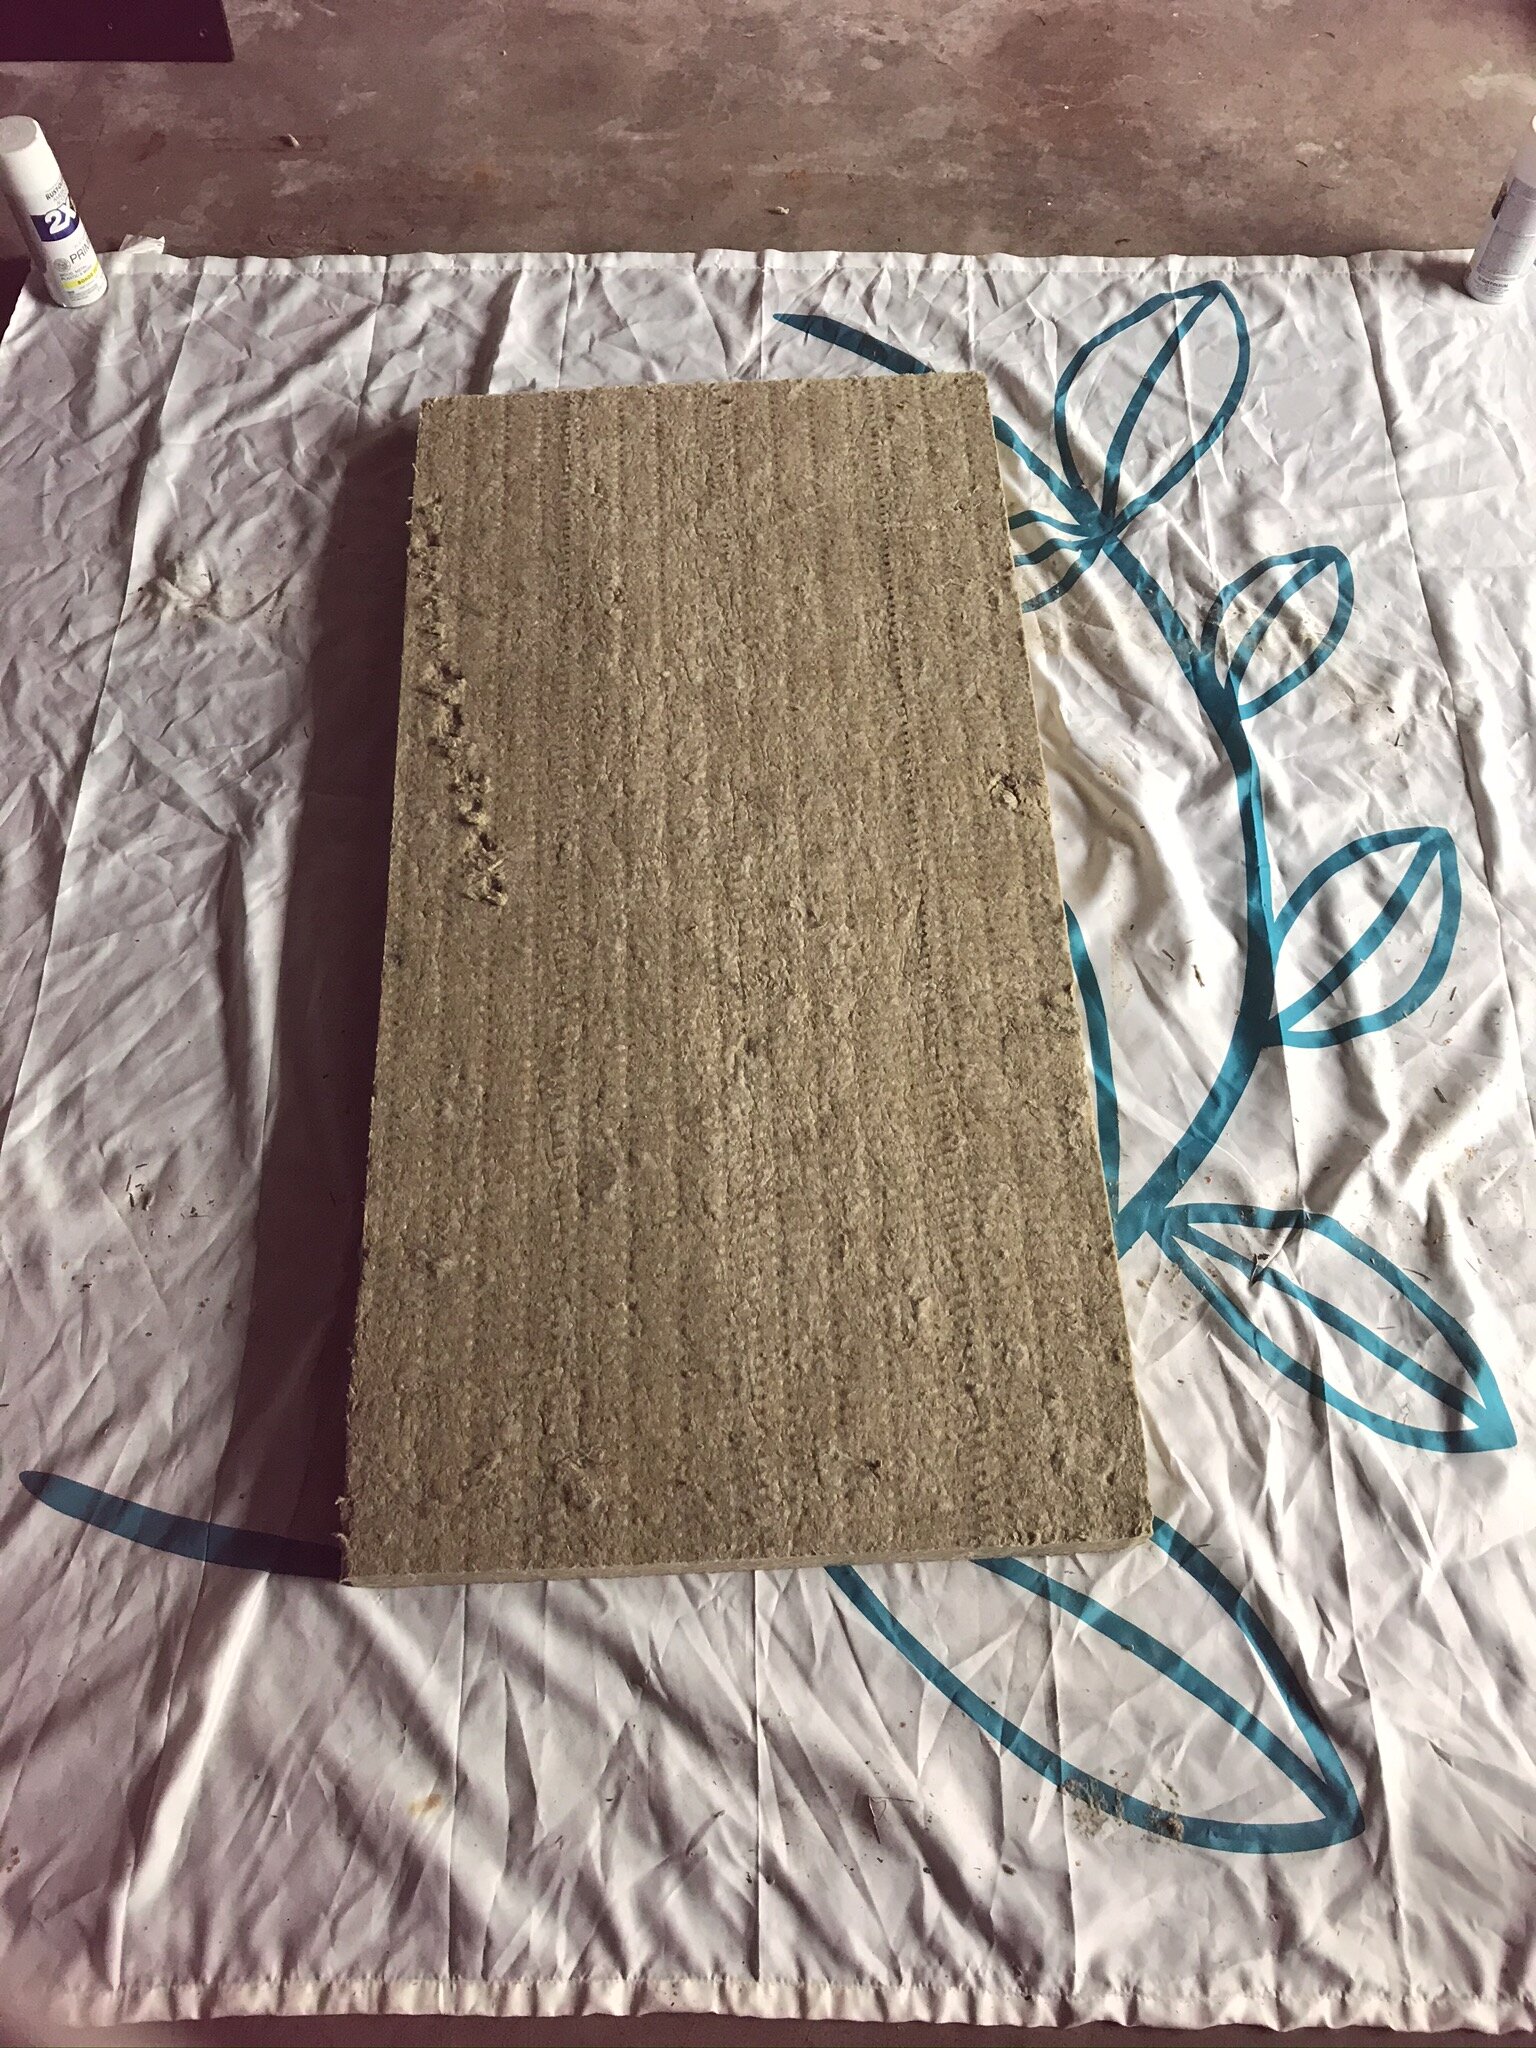
The canvas for our cobbled together masterpiece. Old shower curtain necessary to keep glue from caking the floor.
After chopping the wood I hit the pieces with an orbital sander just to knock off all the splinters, rough edges and any weird surface discoloration which could be mold or some other pacific northwest sludge monster. The wood will be completely covered when we’re done but this step was as much for my comfort putting it together as anything else.
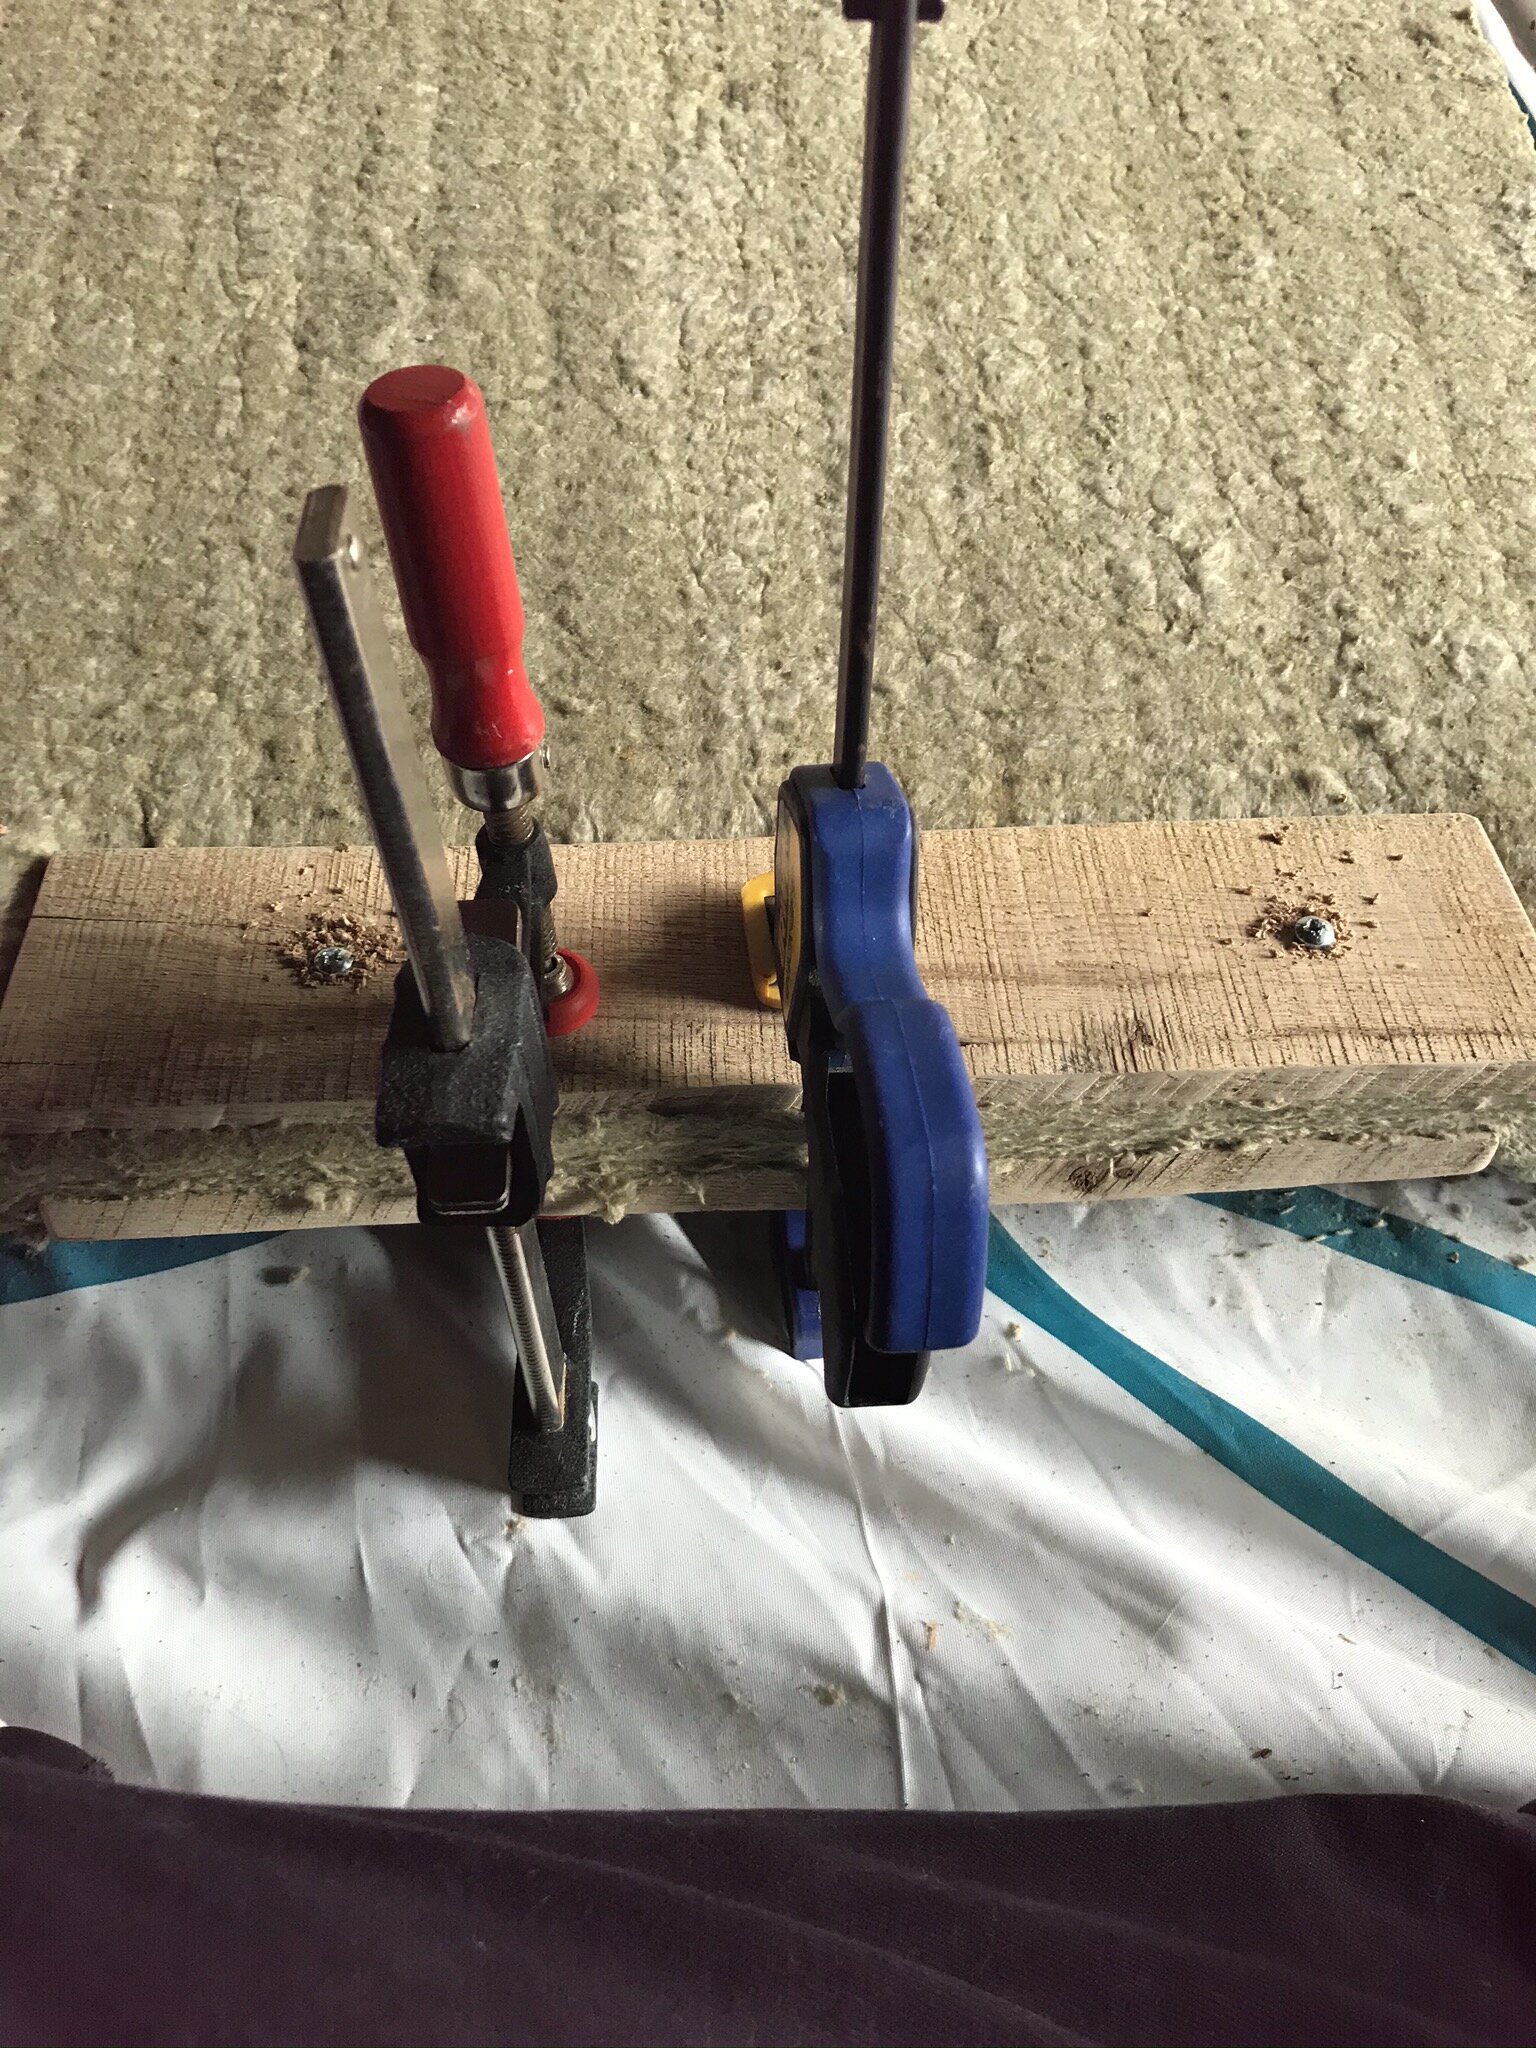
I clamped the two pieces into the sandwich so the longest screws I had lying around could be used. The two screws so far have been more than enough to hold the wood sandwich in place.
After the clamps are removed I sprayed a thin coat of adhesive on the front of the acoustic fiberglass. I then laid down the cloth as flat as possible and smoothed what wrinkles I could. The black cloth above was a bit smaller than other pieces I bought, so I had to address that when I flipped it over. The cloth I used for panels were table cloths I had lying around or purchased on Amazon, as well as this black velour sheet seen in most screenshots. The black velour was a bit thicker which really helped with wrinkles, but had a wrinkle of its own not being the size I needed.
The insulation and adhesive get along really well and love to stick to anything possible, so once the cloth touches the surface you’re pretty much locked in. Fortunately I planned on covering up the panels with tapestries so I was not too concerned with perfection. Since this was my home office, I have to worry less about impressing clients and publishers with a profresh setup.
After flipping over I repeat putting spray adhesive on the face and edges of the panel. In the case of this piece of cloth I had to supplement with some plastic sheeting to help contain the fiberglass. We are essentially making a sleeve to contain the itchy absorptive goodness inside.
After I buttoned up this burrito the last step was adding some mounting hardware to attach this beautiful baby boy to the wall. I had these little L-shaped mounting fellas lying around. I don’t know what they were for, but they are just the right size to screw into the wood, then hang on a single screw drilled into my rented drywall.
The spray adhesive has a persistent odor that hangs around on the panels for 2-3 days. So I definitely recommend wearing a mask while assembling something like this. After finishing the panels (usually 2 at a time) I would let them hang out in my garage with the garage door open for the 2-3 days to let the glue cure and fumes to dissipate. Do not let the panels dry in direct sun, as the heat will warm up the adhesive which is not a good time.
Here is the front of panel 1 of 6. I got better with wrinkles after this.
Here is one with a tapestry over it. The tapestry could be tidier, but you get the “picture” and I don’t mean the screen print.
This project took a bit over 2 weeks as I slowly put together 6 panels in my free time. Ordering materials, running out of materials , ordering more slowed me down a bit but I am satisfied with the quick turnaround. Overall I am happy with how this project turned out. Not having the lumber to put these in traditional frames was a bit of a blessing, as it also reduced the work required to assemble and hang them, as they are light enough to dangle on one screw. Finally finding a use for a deteriorating wood pallet was a bonus.
The total altogether for the project for me was around $150 USD with most of that being the acoustic fiberglass panels being shipped to me. The rest was the surprisingly expensive tablecloths. The total cost would be more if you don’t have a circular saw, screw-gun, hardware, orbital sander, and garage. I recommend getting all of those things because building things is fun! I recommend this project if you already have the time, space, tools, and need. If you require sound treatment, you could do worse and could definitely do better than me!
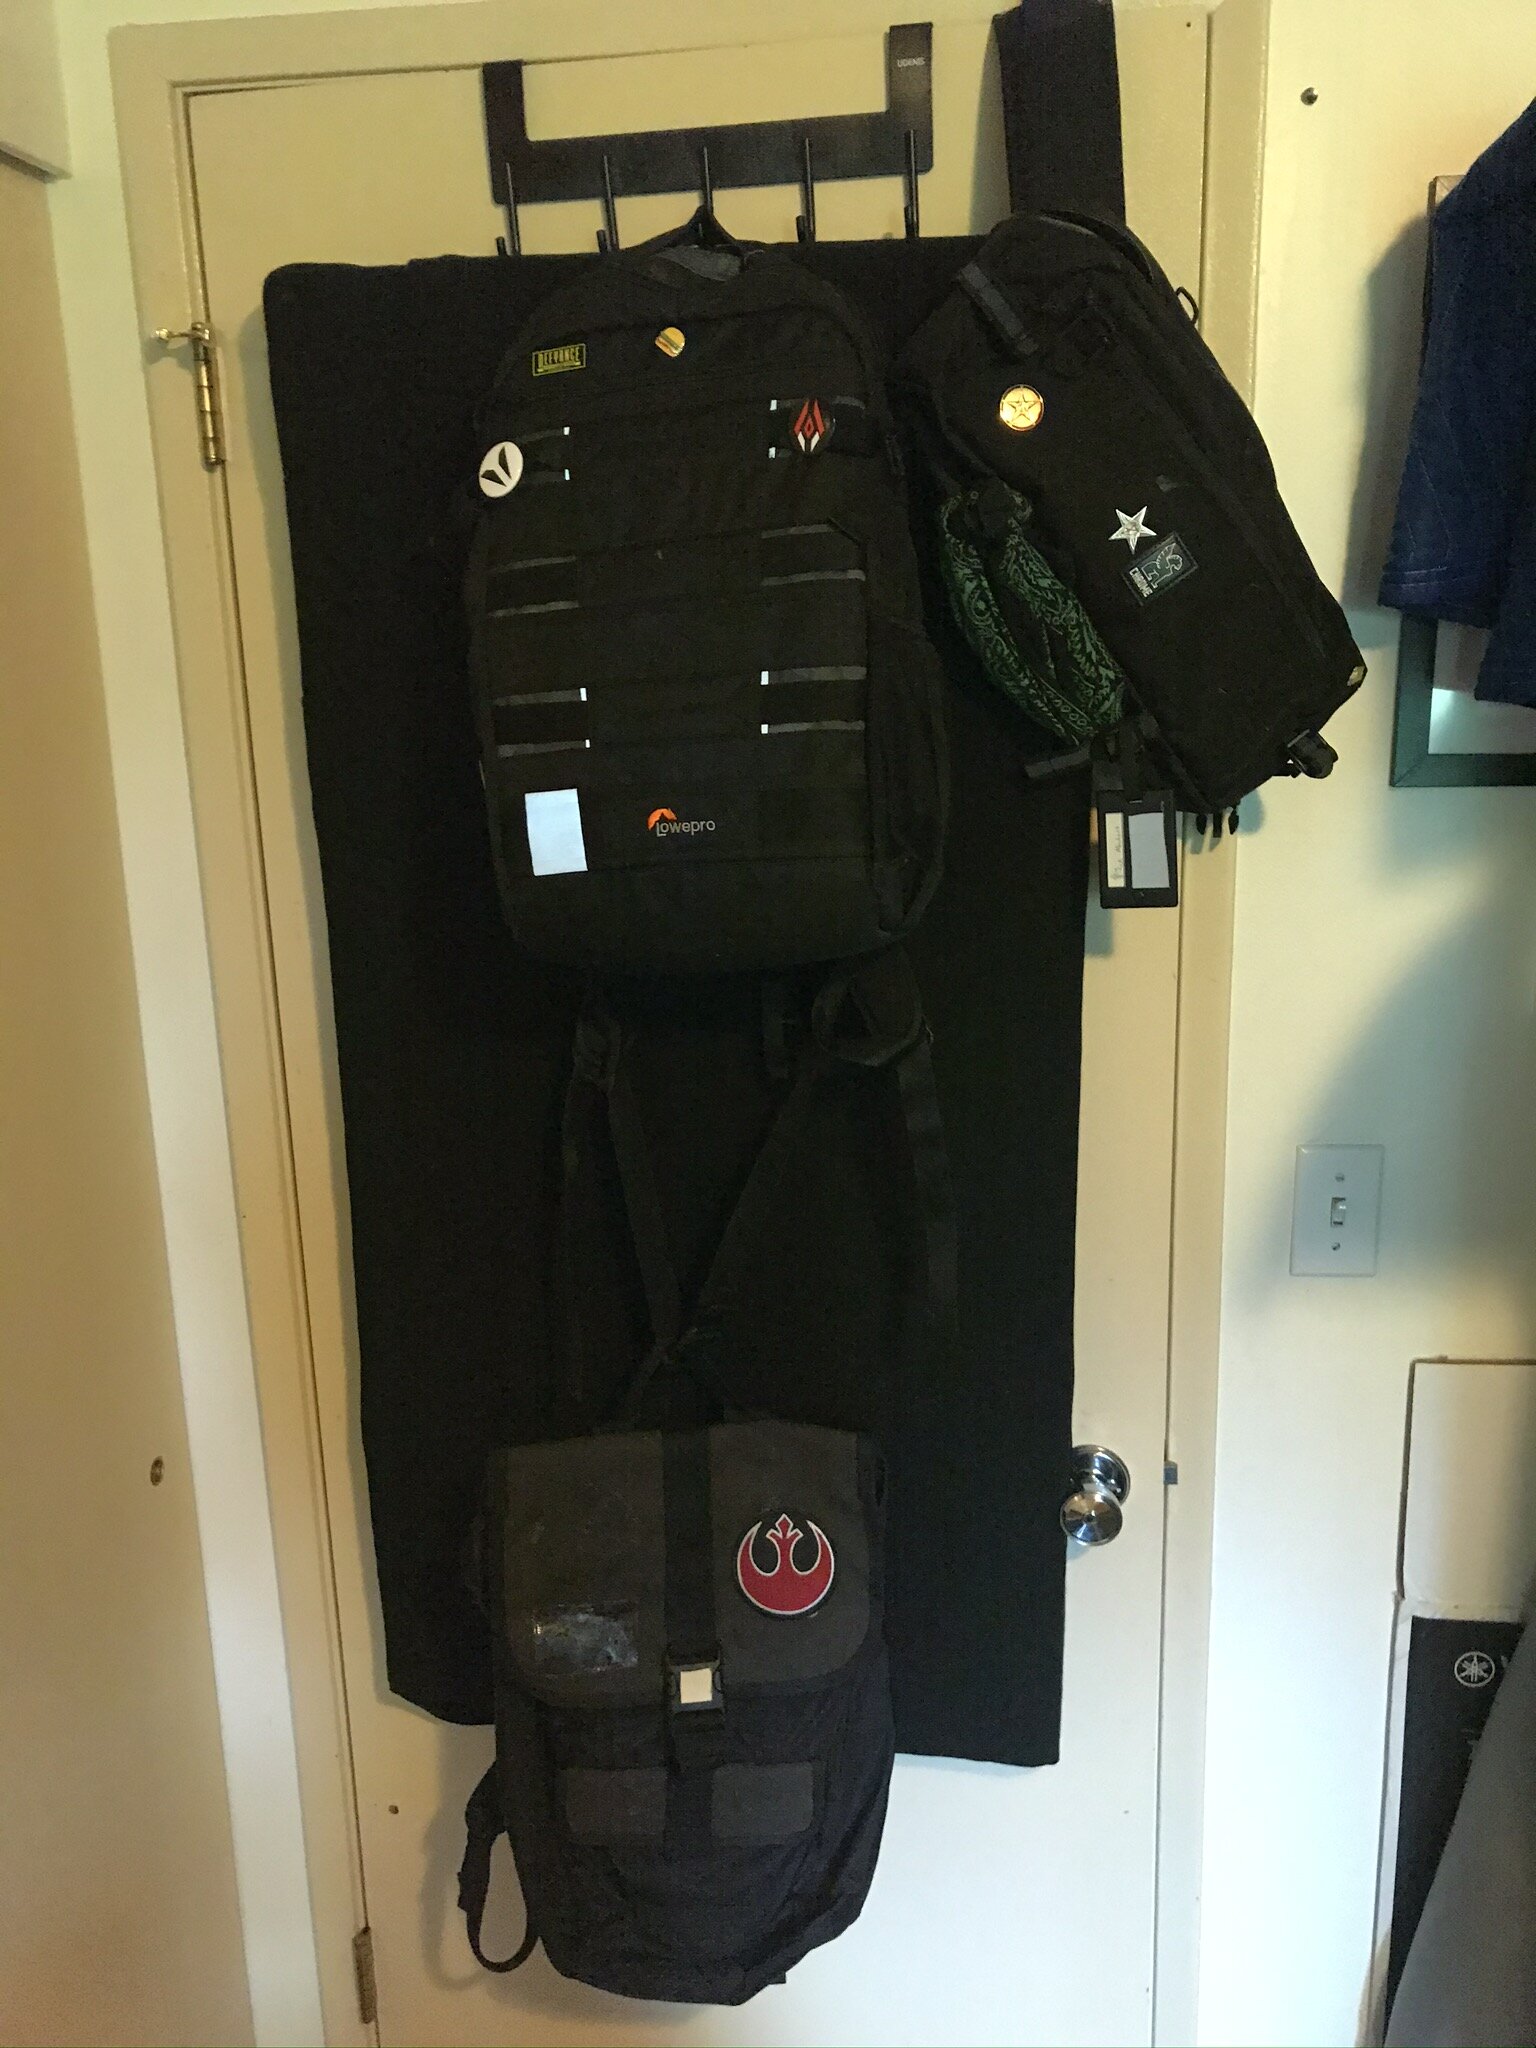
This one snuggling with my backpacks on the office door is hanging on the door rack with zip ties.
Demo track of ORA HEAVY INDUSTRY
I do music as ORA HEAVY INDUSTRY.
Work in progress when I have some spare time.
ORA HEAVY INDUSTRY is also now on a cassette tape. You can download the track for free on Bandcamp or buy the tape if still in stock!
Disintegration Announcement Trailer!
I did the SFX, mix, and VO processing for the announcement trailer of the project we are working on at V1 Interactive! A first person shooter called “Disintegration!”


